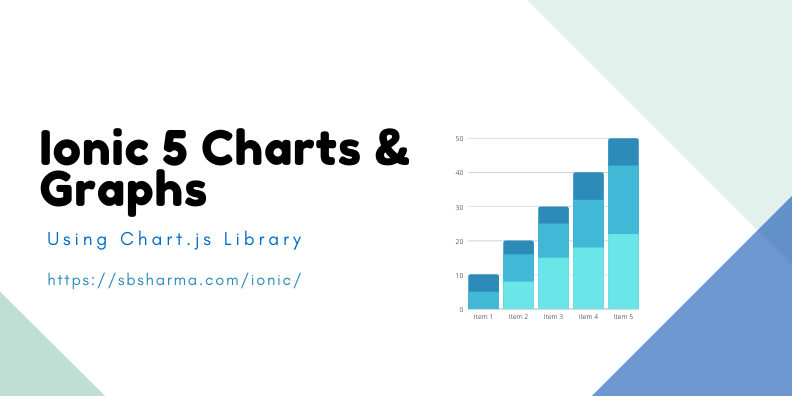
Live examples of chart.js with Ionic 5
We are going to learn how to add chart in the ionic 5 application with the chart.js library.
The chart.js library is very easy to use, it just uses the canvas to draw the chart. So, we need a canvas and chart.js library installed to render a chart.
Might be interested in angular material design with ionic 5.
Live Demo
Install chart.js library to ionic 5 project
I assume you already have an ionic project that’s why you are looking for a chart and graph integrations.
So, the first thing is to install the chart.js library via npm to your existing project.
npm install chart.jsExample of charts and graphs with ionic 5
Simply import the chart to your page where you want to render a chart.
In our case it is home.page.ts and import chart like below
import Chart from 'chart.js/auto';We just need a canvas element in our html page like below.
<ion-header>
  <ion-toolbar color="danger">
    <ion-title>
      Example of Chart.js
    </ion-title>
  </ion-toolbar>
</ion-header>

<ion-content class="bg-gray">
  <ion-list class="cus-card">
    <ion-list-header>
      <ion-label>
        Select Chart type
      </ion-label>
    </ion-list-header>

    <ion-item class="ion-padding-horizontal" lines="none">
      <ion-label> Charts </ion-label>
      <ion-select value="bar" okText="Create" cancelText="Cancel" mode="ios" (ionChange)="changeChart($event)" color="danger">
        <ion-select-option value="bar">Bar</ion-select-option>
        <ion-select-option value="line">Lines</ion-select-option>
        <ion-select-option value="radar">Radar</ion-select-option>
        <ion-select-option value="doughnut">Doughnut</ion-select-option>
        <ion-select-option value="pie">Pie</ion-select-option>
      </ion-select>
    </ion-item>

  </ion-list>

  <div class="bg-white cus-card">
    <canvas #chartCanvas></canvas>
  </div>

  <div class="cus-card bg-white ion-padding">
    <p>Design & Developed by <a href="https://sbsharma.com/" target="_blank">sbsharma.com</a> </p>
  </div>
</ion-content>
Now, we can easily render the chart with our ionic 5 project using the following methods.
import { AfterViewInit, Component, ElementRef, OnInit, ViewChild } from '@angular/core';
import Chart from 'chart.js/auto';

@Component({
  selector: 'app-home',
  templateUrl: 'home.page.html',
  styleUrls: ['home.page.scss'],
})
export class HomePage implements AfterViewInit, OnInit {

  @ViewChild('chartCanvas') chartCanvas : ElementRef;

  data : any = [];
  canvasChart : Chart;

  constructor(
  ) {}

  ngOnInit() {

  }

  async ngAfterViewInit() {

    let stocks = await fetch("assets/data/stocks.json").then(resp => resp.json());
    stocks = stocks[0];

    let opens = [];
    let closes = [];
    let highs = [];
    let lows = [];
    let volumes = [];

    let labels = [];

    Object.keys(stocks).forEach((key, index, array) => {
      if (index > 2) {
        return true;
      }
      labels.push(key);
      opens.push( this.addRandom(stocks[key].open) );
      closes.push( this.addRandom(stocks[key].close) );
      highs.push( this.addRandom(stocks[key].high) );
      lows.push( this.addRandom(stocks[key].low) );
      volumes.push(stocks[key].volume);
    });

    this.data = {
      labels: labels,
      datasets: [{
        label: 'Open',
        data: opens,
        backgroundColor: 'rgba(255, 199, 132, 0.2)',
        borderColor: 'rgba(255, 99, 32, 0.8)',
        borderWidth: 2
      },{
        label: 'High',
        data: highs,
        backgroundColor: 'rgba(55, 99, 132, 0.4)',
        borderColor: 'rgba(55, 99, 132, 0.8)',
        borderWidth: 2
      }, {
        label: 'Low',
        data: lows,
        backgroundColor: 'rgba(155, 99, 132, 0.4)',
        borderColor: 'rgba(155, 99, 132, 0.8)',
        borderWidth: 2
      }, {
        label: 'Close',
        data: closes,
        backgroundColor: 'rgba(55, 99, 232, 0.4)',
        borderColor: 'rgba(55, 99, 132, 0.8)',
        borderWidth: 2
      }]
    };

    this.changeChart({detail: {
      value : 'bar'
    }});
  }

  changeChart( event: any ) {
    const type = event.detail.value || 'bar';
    if ( this.canvasChart ) {
      this.canvasChart.destroy();
    }
    this.canvasChart = new Chart(this.chartCanvas.nativeElement, {
      type: type,
      data: this.data,
      options: {
        indexAxis: 'x'
      }
    });
  }

  addRandom( points: any ) : number {
    return Number(points) - Number( Math.floor((Math.random() * 100) + 1) );
  }

}
We have tried to do some fun with it, so you can see a select box or menu in the above demo screen. You can try different kinds of charts there.
Hope you enjoy the tutorial.
See you in the next article.